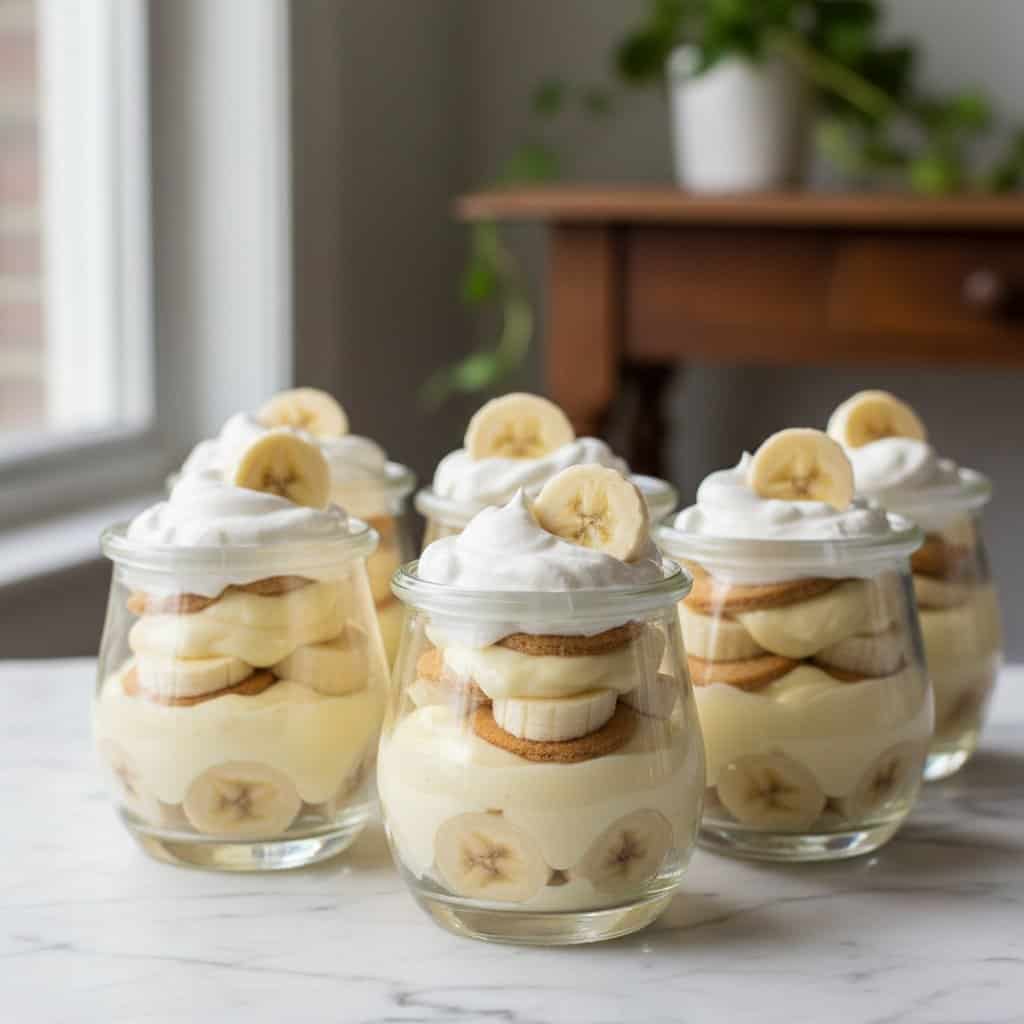
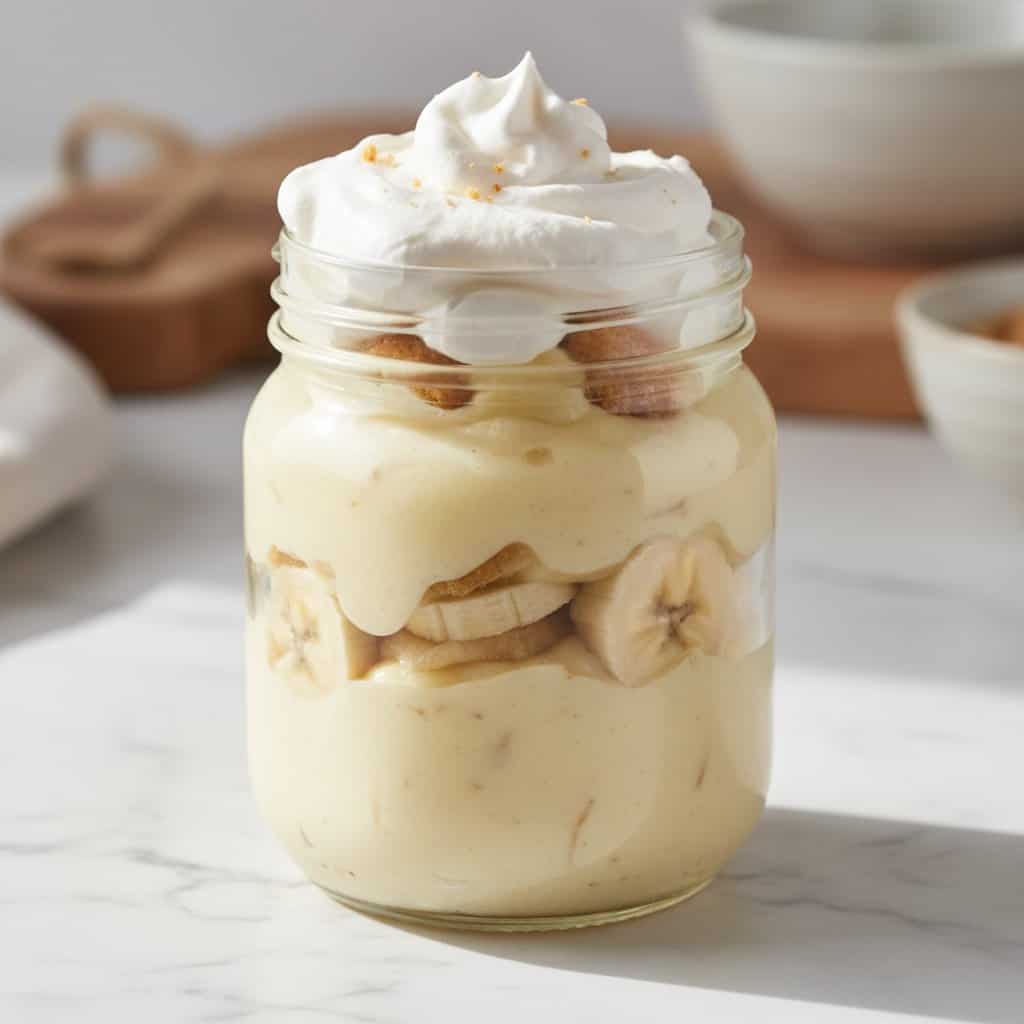
Creamy, layered banana pudding cups that taste exactly like the Southern classic your grandma made, no oven required. ♡
The real trick to great banana pudding is letting it sit. The vanilla wafers soften into the pudding and transform into something almost cake-like, which is exactly what you want. Whipped cream folded into the pudding keeps everything light and airy instead of dense and heavy.
Make these the night before and they’ll be perfect by dessert time. Let’s make it together.
Ingredients
Banana Pudding Cups
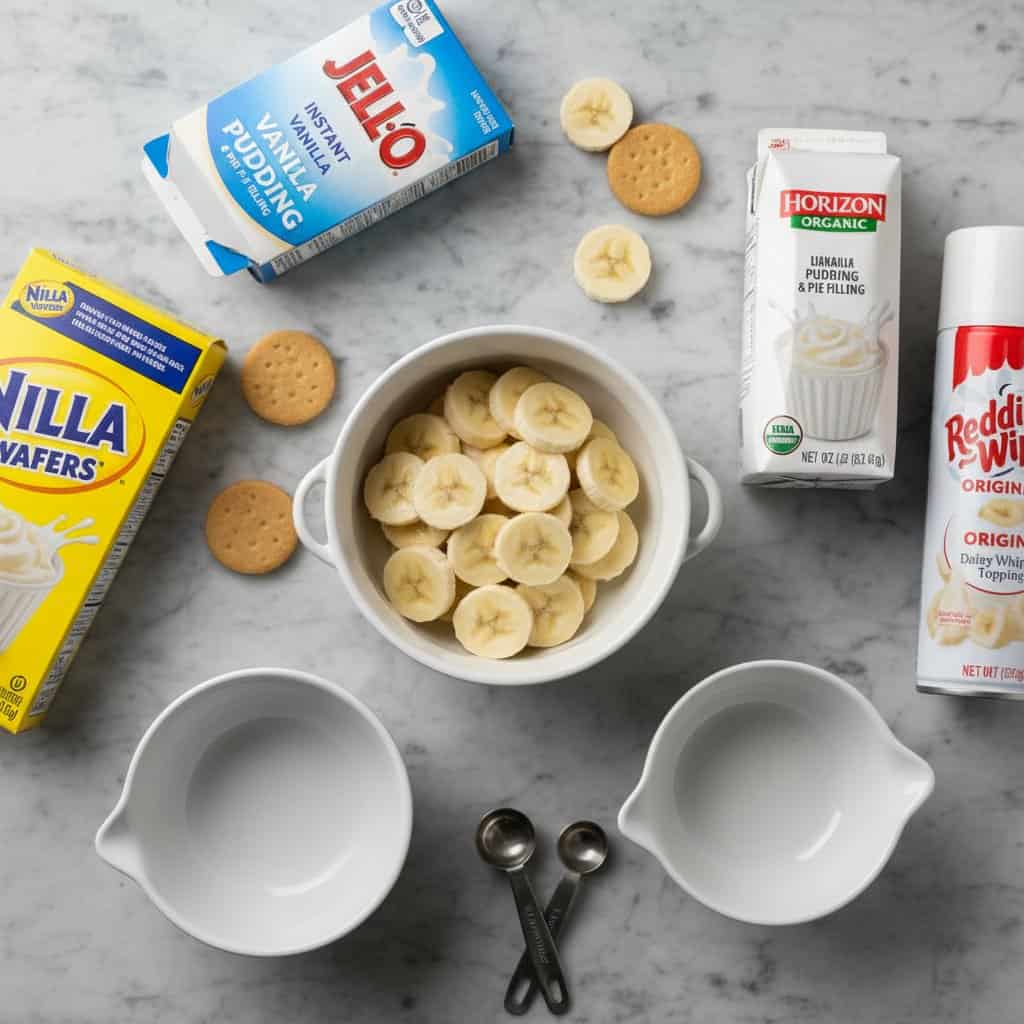
- 2 boxes (3.4 oz each) instant vanilla pudding mix
- 3 cups whole milk, cold
- 1 block (8 oz) cream cheese, softened
- 1 can (14 oz) sweetened condensed milk
- 1 container (8 oz) frozen whipped topping, thawed
- 4 medium ripe bananas, sliced
- 1 box Nilla Wafers (or similar vanilla wafers)
- 1 tsp vanilla extract
Optional add-ins:
Why This Banana Pudding Cups Works
The magic is in the ratios. Just enough sweetness, the right amount of richness, and a texture that hits every note. No fussy techniques or hard-to-find ingredients needed.
- Extra whipped cream on top
- Crushed vanilla wafers as a garnish
- Caramel drizzle
- Toasted pecans for crunch
- A pinch of cinnamon over the top
How to Make Banana Pudding Cups
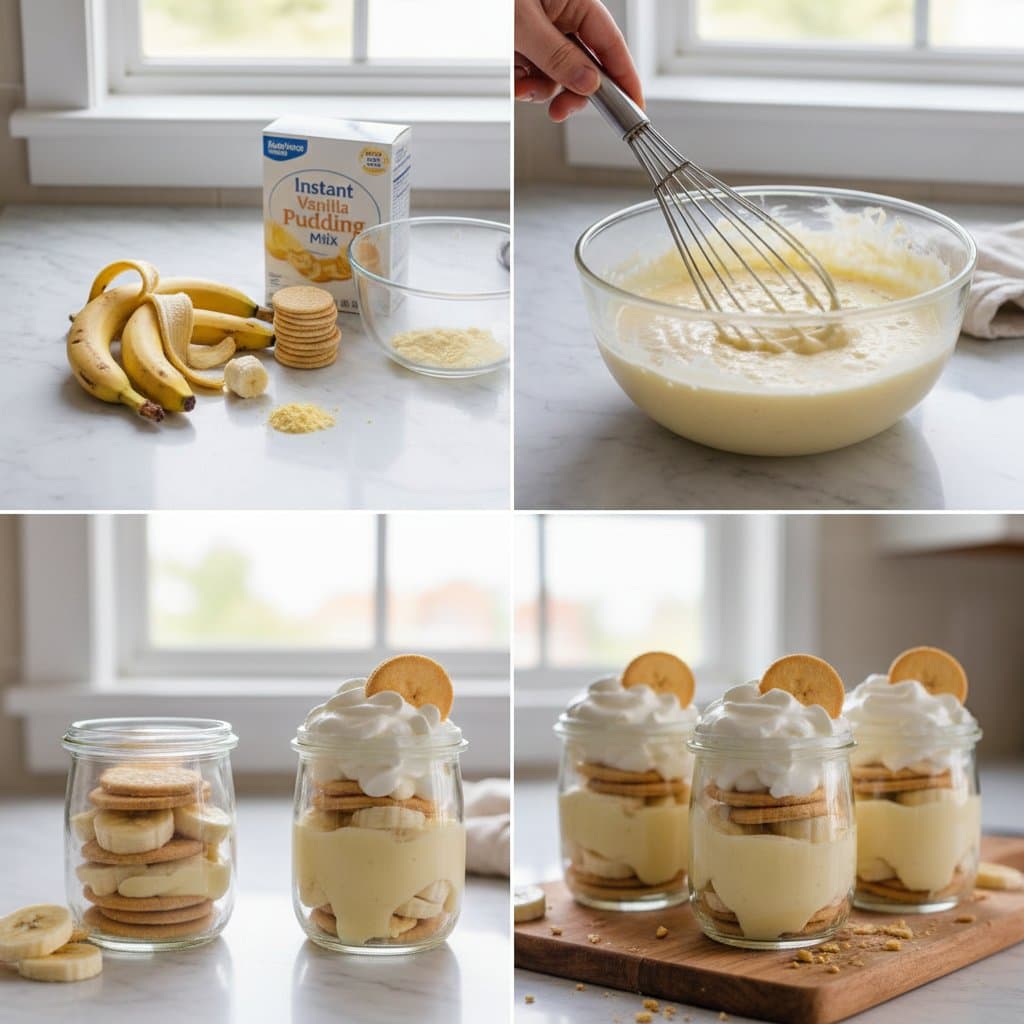
- Beat. In a large bowl, beat softened cream cheese with an electric mixer on medium speed for 1 to 2 minutes until smooth and fluffy. Add sweetened condensed milk and vanilla extract, and beat until fully combined with no lumps. (Make sure your cream cheese is fully softened or you’ll get lumps.)
- Mix. In a separate bowl, whisk together instant pudding mix and cold whole milk for 2 minutes until the pudding thickens and sets. It will look slightly thick and glossy.
- Fold. Combine the cream cheese mixture and the pudding mixture into one large bowl. Gently fold in the thawed whipped topping using a rubber spatula until fully incorporated. Do not stir aggressively or you will deflate it.
- Layer. In clear cups or glasses, layer vanilla wafers on the bottom, then a layer of banana slices, then a generous layer of pudding mixture. Repeat the layers until the cup is full, ending with pudding on top.
- Chill. Cover cups with plastic wrap and refrigerate for at least 4 hours, or overnight. The wafers need time to soften into the pudding. Garnish with extra banana slices and crushed wafers right before serving.
Tips for the Best Banana Pudding Cups
- Use ripe bananas but not overripe. You want yellow bananas with a few spots, not brown and mushy. Overripe bananas will break down and get watery in the cups.
- Soften cream cheese fully before beating. Cold cream cheese will leave lumps in the pudding no matter how long you mix it. Set it out 30 to 60 minutes ahead.
- Chill overnight if you can. Four hours is the minimum but overnight gives you the best wafer texture and the most unified flavor.
- Add banana slices at assembly, not ahead. Sliced bananas brown quickly. If making far in advance, add fresh banana slices just before the final chill period.
- Use whole milk for the pudding. Skim or low-fat milk won’t give you the same thick, rich pudding consistency.
- Top bananas with crushed wafers right before serving. This preserves the texture contrast between soft and slightly crunchy.
Fun Variations to Try
- Big Trifle Bowl: Layer everything in a large trifle bowl or 9×13 dish instead of individual cups for easy party serving.
- Chocolate Banana Pudding: Swap half the vanilla pudding for chocolate pudding mix for a chocolate banana twist.
- Peanut Butter Version: Swirl 2 tablespoons of peanut butter into the cream cheese mixture before folding in the whipped topping.
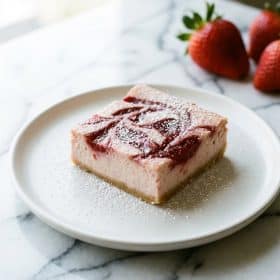
- Strawberry Swap: Replace bananas with sliced fresh strawberries for a completely different but equally classic Southern dessert direction.
- Homemade Whipped Cream: Beat 1 cup of heavy cream with 2 tablespoons of powdered sugar to stiff peaks and use instead of the whipped topping for a fresher, richer result.
- Caramel Banana Pudding: Drizzle a layer of caramel sauce over each banana layer for a more decadent, caramel-forward version.
Banana Pudding Cups
Individual no-bake banana pudding cups layered with vanilla wafers, fresh banana slices, and a creamy pudding made from scratch in minutes.
Ingredients
Method
- Beat softened cream cheese in a large bowl with an electric mixer for 1 to 2 minutes until smooth. Add sweetened condensed milk and vanilla extract and beat until fully combined with no lumps.
- In a separate bowl, whisk instant pudding mix with cold whole milk for 2 minutes until thickened and glossy.
- Combine cream cheese mixture and pudding in one large bowl. Gently fold in thawed whipped topping with a rubber spatula until fully incorporated.
- Layer vanilla wafers, banana slices, and pudding mixture in clear cups. Repeat layers until cups are full, ending with pudding on top.
- Cover with plastic wrap and refrigerate for at least 4 hours or overnight. Garnish with fresh banana slices and crushed wafers just before serving.
Notes
Soften cream cheese fully before beating to avoid lumps. Refrigerate for at least 4 hours or overnight for the best texture as the vanilla wafers need time to soften into the pudding. Add fresh banana slices and crunchy garnishes right before serving to prevent browning.
You Might Also Love
How far ahead can I make banana pudding cups?
You can make them up to 24 hours ahead. The wafers soften beautifully overnight and the flavors meld together. Beyond 24 hours the bananas may start to brown and the texture can get too soft. Add fresh banana slices and any crunchy garnishes just before serving.
Why did my cream cheese mixture turn out lumpy?
The cream cheese was not fully softened before beating. Remove it from the fridge at least 30 to 60 minutes before you start. If you already have lumps, microwave the mixture for 10 to 15 seconds and beat again.
Can I use homemade pudding instead of instant?
Yes. Make a simple vanilla custard, let it cool completely, then fold in the cream cheese mixture and whipped topping. The texture will be slightly denser but very good.
How do I keep the bananas from turning brown?
Toss sliced bananas in a small amount of lemon juice before layering. This slows oxidation without changing the flavor significantly. Also, add fresh banana slices as close to serving time as possible.
Can I make this recipe lighter?
Yes. Use fat-free or low-fat cream cheese, reduced-fat sweetened condensed milk, and regular whipped topping. The texture will be slightly less rich but it will still taste great.