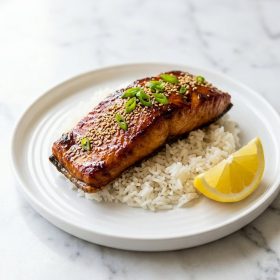
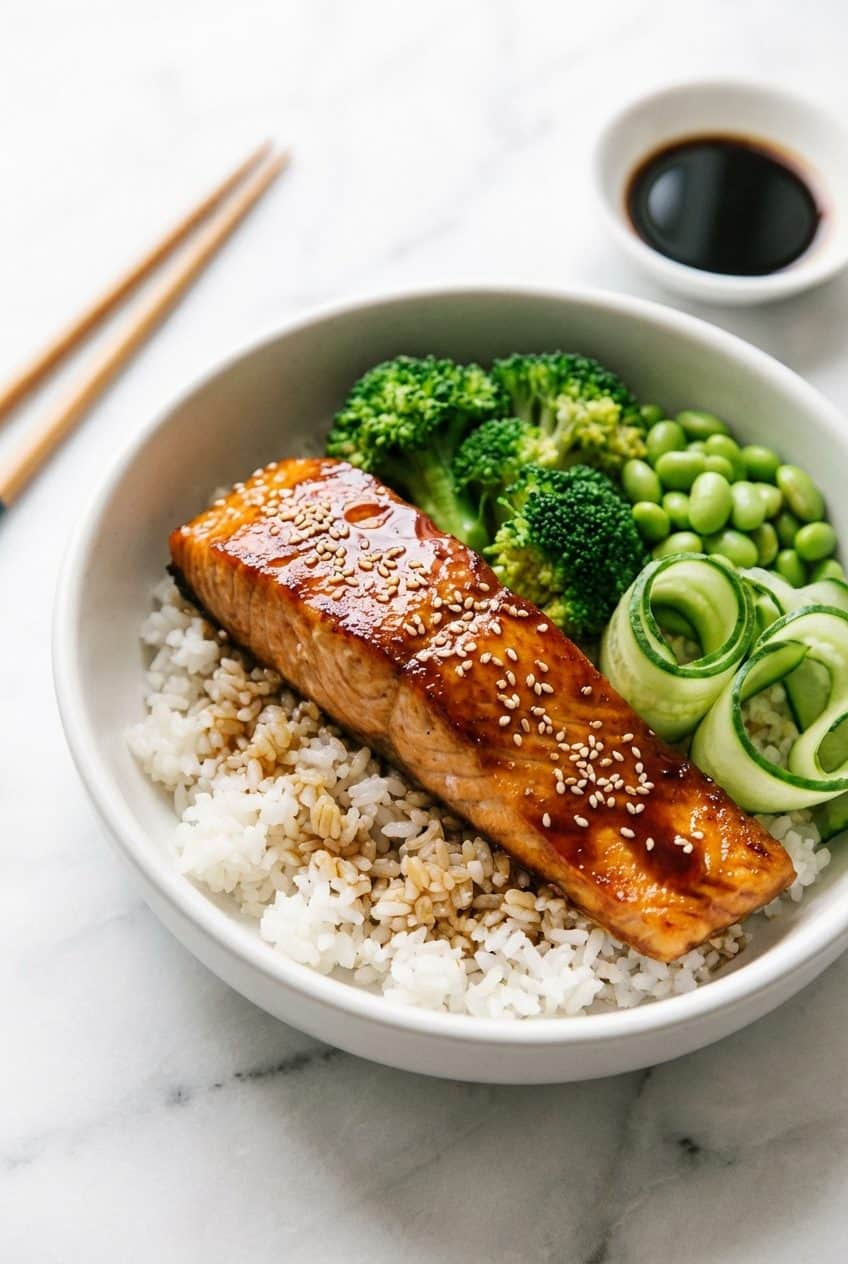
This teriyaki salmon rice bowl is sticky, sweet, savory, and comes together in under 25 minutes. ♡
The key is a homemade teriyaki glaze that caramelizes on the salmon as it sears, creating those crispy, lacquered edges. Paired with fluffy rice and crisp vegetables, it’s the kind of meal that tastes like takeout but is way better for you.
Heat up your skillet and grab some salmon. Let’s make it together.
Ingredients
Teriyaki Salmon Rice Bowl
- 4 salmon fillets (about 6 oz each)
- 2 cups jasmine rice, cooked
- 1/4 cup soy sauce
- 2 tablespoons honey
- 1 tablespoon rice vinegar
- 1 tablespoon sesame oil
- 2 cloves garlic, minced
- 1 teaspoon fresh ginger, grated
- 1 tablespoon olive oil
- 2 cups steamed broccoli
- 1 cup edamame, shelled
- 1 cucumber, sliced
- Sesame seeds and sliced green onions for garnish
Optional add-ins:
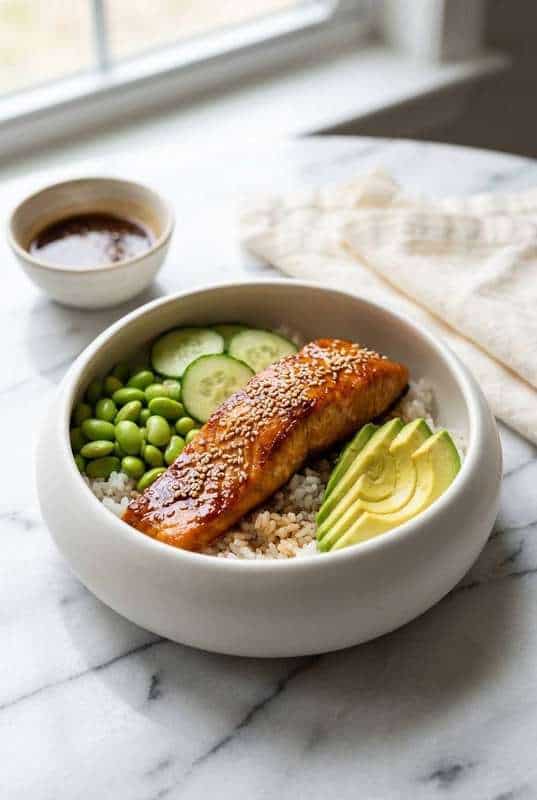
- Sliced avocado
- Pickled ginger
- Sriracha mayo
- Shredded carrots
How to Make Teriyaki Salmon Rice Bowl
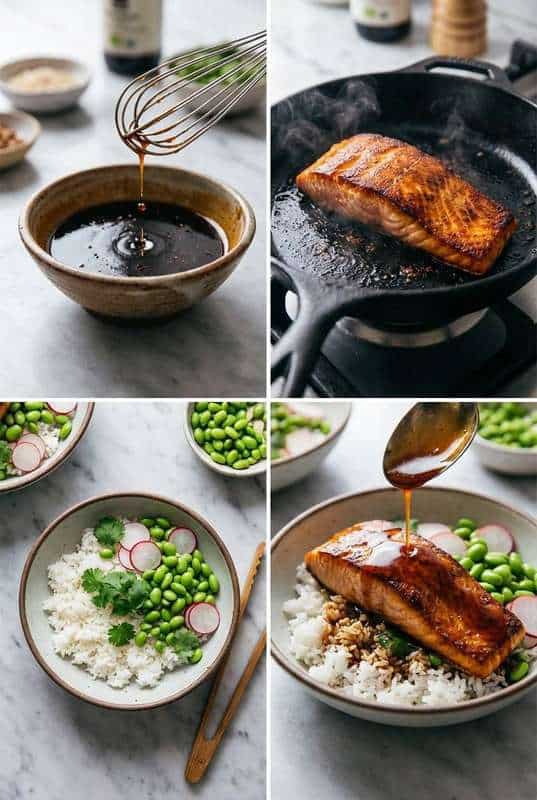
- Mix. Whisk together the soy sauce, honey, rice vinegar, sesame oil, garlic, and ginger in a small bowl. Set aside.
- Sear. Heat olive oil in a skillet over medium-high heat. Place salmon fillets skin-side up and sear for 3 to 4 minutes until golden. Flip and cook another 3 minutes.
- Glaze. Pour the teriyaki sauce over the salmon and let it bubble and thicken for 1 to 2 minutes, spooning it over the fillets as it reduces.
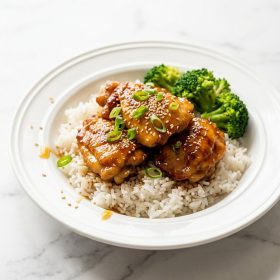
- Assemble. Divide rice among bowls. Top with salmon, steamed broccoli, edamame, and cucumber. Drizzle with remaining sauce and sprinkle with sesame seeds and green onions.
Tips
- Pat the salmon dry before searing for the best crust.
- Don’t move the salmon once it hits the pan. Let it sear undisturbed for a crispy surface.
- The sauce will thicken quickly once it hits the hot pan, so have everything ready.
- Use short-grain or jasmine rice for the stickiest, most satisfying base.
- Cook the broccoli and edamame while the salmon sears to save time.
Variations
- Use chicken thighs or tofu instead of salmon.
- Add a fried egg on top for extra protein.
- Swap broccoli for roasted sweet potato cubes.
- Make it spicy with a drizzle of chili crisp or gochujang.
- Use cauliflower rice to keep it low carb.
Ingredients
Method
- Mix. Whisk together the soy sauce, honey, rice vinegar, sesame oil, garlic, and ginger in a small bowl. Set aside.
- Sear. Heat olive oil in a skillet over medium-high heat. Place salmon fillets skin-side up and sear for 3 to 4 minutes until golden. Flip and cook another 3 minutes.
- Glaze. Pour the teriyaki sauce over the salmon and let it bubble and thicken for 1 to 2 minutes, spooning it over the fillets as it reduces.
- Assemble. Divide rice among bowls. Top with salmon, steamed broccoli, edamame, and cucumber. Drizzle with remaining sauce and sprinkle with sesame seeds and green onions.
Notes
Pat the salmon dry before searing for the best crust. Don't move the salmon once it hits the pan. Let it sear undisturbed for a crispy surface. The sauce will thicken quickly once it hits the hot pan, so have everything ready.
FAQ
Can I use frozen salmon?
Yes, thaw it completely first and pat it very dry. Frozen salmon that’s been thawed works just as well as fresh for this recipe.
How do I store leftover teriyaki bowls?
Store the components separately. Rice and salmon keep in the fridge for 3 days. Don’t store the cucumber or it gets soggy. Reheat salmon and rice, then assemble fresh.
Can I bake the salmon instead?
Yes. Bake at 400F for 12 to 15 minutes, brushing with teriyaki sauce halfway through. You won’t get the same caramelized crust but it’s still delicious.
What makes homemade teriyaki better than bottled?
Homemade has fresher flavor, less sodium, and no corn syrup. It takes 2 minutes to whisk together and tastes noticeably brighter than store-bought.
Teriyaki Salmon Rice Bowl
A quick teriyaki salmon bowl with homemade glaze, fluffy rice, and crisp vegetables.
Ingredients
Method
- **Mix.** Whisk soy sauce, honey, vinegar, sesame oil, garlic, and ginger.
- **Sear.** Cook salmon 3 to 4 minutes per side in hot skillet.
- **Glaze.** Pour sauce over salmon, reduce 1 to 2 minutes.
- **Assemble.** Build bowls with rice, salmon, and vegetables. Drizzle with sauce.
Notes
- Pat salmon dry for best sear.
- Sauce thickens quickly, have everything ready.
- Store components separately for meal prep.
- Sauce thickens quickly, have everything ready.
- Store components separately for meal prep.